Indulge in the timeless delight of homemade fudge with this classic Hershey’s Cocoa Fudge recipe. This cherished recipe, a staple in many kitchens, brings together the rich flavor of Hershey’s cocoa with a few simple ingredients to create a delectable treat that’s both comforting and irresistibly sweet. Perfect for chocolate enthusiasts, this fudge offers a velvety texture and a deep, chocolatey taste that’s sure to satisfy your cravings.
Whether you’re making it for a special occasion, as a festive treat, or simply to enjoy a sweet moment, this fudge is surprisingly easy to prepare. With detailed instructions and a few kitchen staples, you’ll be on your way to crafting a batch of smooth, melt-in-your-mouth fudge. Optional additions like walnuts or pecans add a delightful crunch, but the fudge is equally exquisite without them.
So gather your ingredients, and let’s embark on a journey to create a batch of Hershey’s Cocoa Fudge that promises to be a hit among friends and family alike!
Ingredients:
- 3/4 cup Hershey’s unsweetened cocoa
- 3 cups sugar
- 1/2 teaspoon salt
- 1 1/2 cups milk
- 1/4 cup unsalted butter, cut into pieces
- 1 teaspoon pure vanilla extract
- 1/2 cup chopped walnuts or pecans (optional)
Instructions:
- Prepare the Baking Dish:
- Line an 8-inch square baking dish or pan with aluminum foil, ensuring that the foil extends over the sides. This aids in easy removal of the fudge once set.
- Lightly grease the foil with butter to prevent sticking.
- Cooking the Fudge Mixture:
- Combine the cocoa, sugar, salt, and milk in a medium-sized, heavy saucepan.
- Heat the mixture over medium flame. Stir continuously to prevent sticking and ensure even mixing of ingredients. This process may take up to five minutes.
- Once the mixture reaches a boil, stop stirring. Continue cooking until the temperature hits 234°F on a candy thermometer, indicating the soft-ball stage. Alternatively, test by dropping a small amount of the mixture into cold water; it should form a soft ball.
- Cooling the Mixture:
- After reaching the desired temperature, remove the saucepan from heat.
- Place the pan in a sink containing about two inches of cold water. This helps cool the mixture evenly and quickly.
- Add the butter and vanilla extract to the fudge mixture but refrain from stirring. Let the mixture cool to room temperature in the water bath.
- Finishing the Fudge:
- Once cooled, remove the pan from the water. Begin to stir the mixture with a wooden spoon to incorporate the melted butter and vanilla.
- Continue to beat the mixture until it loses its glossy sheen and adopts a more matte, satiny appearance. This step requires patience and can take some time.
- Adding Nuts and Setting:
- If you choose to add nuts, stir them in now.
- Immediately transfer the fudge mixture into the prepared baking dish.
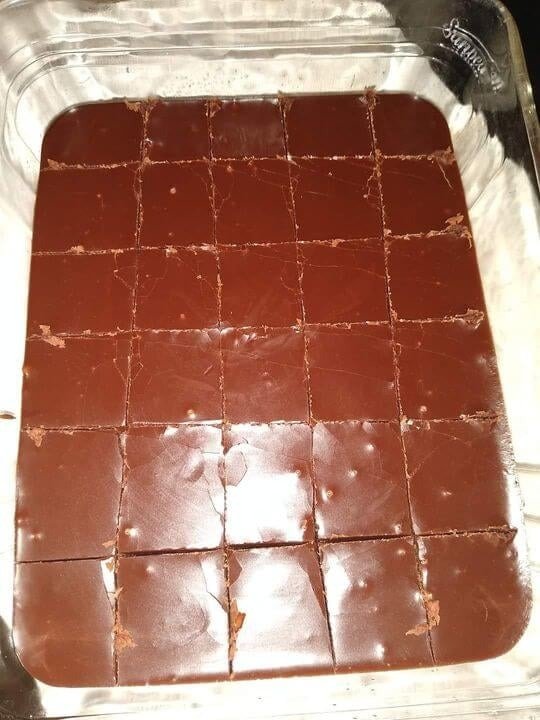
- Spread evenly and allow the fudge to set at room temperature for at least one hour before cutting it into pieces.
- Storing the Fudge:
- Once set and cut, store the fudge in a candy tin or an airtight container to maintain its freshness.
Notes:
- Beating the fudge at the final stage is crucial for achieving the right texture. It might take a while, so be patient.
- The use of a candy thermometer is recommended for accuracy in reaching the soft-ball stage.
- The addition of nuts is optional and can be adjusted based on preference.


Leave a Comment