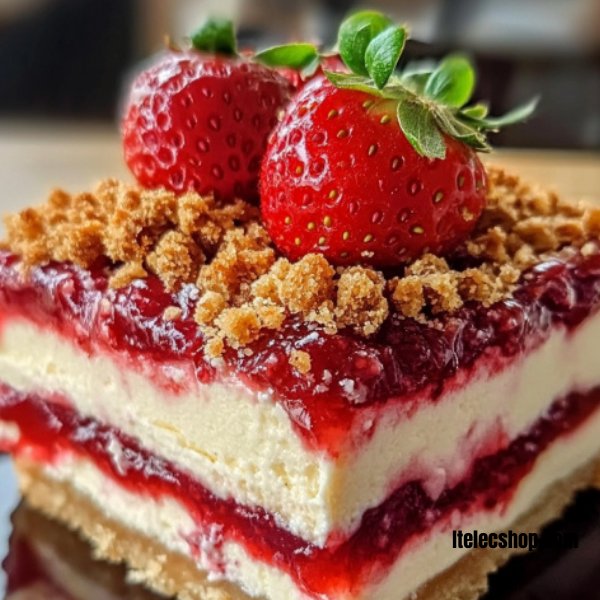
Ingredients
Crust:
1 ½ cups crushed Golden Oreos
¼ cup melted butter
Cheesecake Filling:
3 (8 oz) packages of cream cheese, softened
1 cup granulated sugar
3 large eggs
1 tbsp vanilla extract
½ cup sour cream
½ cup heavy cream
Strawberry Crunch Topping:
1 ½ cups crushed Golden Oreos
½ cup freeze-dried strawberries, crushed
¼ cup melted butter
Instructions
Prepare the Crust
Preheat the oven to 350°F (175°C). Line the bottom of a 9-inch springform pan with parchment paper.
In a medium bowl, combine the crushed Golden Oreos with the melted butter. Press this mixture into the bottom of the prepared pan to form an even crust.
Bake the crust for 10 minutes, then set aside to cool.
Make the Cheesecake Filling
In a large mixing bowl, beat the cream cheese and sugar together until smooth and creamy.
Add in the eggs one at a time, mixing well after each addition. Stir in the vanilla extract, sour cream, and heavy cream until fully combined.
Pour the cheesecake filling over the cooled crust, spreading it evenly.
Bake the Cheesecake
Place the pan in the oven and bake for 60-70 minutes, or until the edges are set and the center is slightly jiggly.
Turn off the oven and crack the door open slightly. Let the cheesecake cool in the oven for an hour.
Afterward, remove it from the oven and refrigerate for at least 4 hours or overnight.
Prepare the Strawberry Crunch Topping
In a bowl, combine the crushed Golden Oreos, crushed freeze-dried strawberries, and melted butter. Mix until well combined.
Once the cheesecake is chilled, sprinkle the strawberry crunch mixture over the top, pressing it down gently to adhere.
Serve and Enjoy!
Carefully remove the cheesecake from the springform pan. Slice and serve this beautiful, delicious strawberry crunch cheesecake for a delightful dessert experience.
